How to Make Custom Chocolate Bars with Your Logo Using a 3D Printer
8 Nov 2025
Create your own chocolate bar mold from scratch using a 3D printer, food-safe silicone, and a bit of creativity.

When you mention food and a 3D printer in the same sentence, the first reaction is usually “Is it food safe?”. To avoid any direct contact between chocolate and a 3D print, we’re going to make a silicone mold instead. The mold is created by filling the printed form with food-grade silicone. Once it cures, you get a reusable silicone mold that’s safe to pour melted chocolate into to create your own custom chocolate bar.
What you need
For designing
- A single-color SVG logo. If you don’t have one, you can use any logo you like.
- A 3D modeling app. I use Fusion 360 (free download), but any basic modeling program will do.
For making the mold
- A 3D printer. If you don’t own one, there are many services that can print your model for you.
- Filament (for FDM printing). Use leftovers if you have them — the mold only needs to be functional.
- A slicer app. I use BambuStudio (free download).
- Food-safe silicone (amazon link)
- A mixing cup and a stick for stirring.
- Optional: a vacuum pump to remove bubbles from the silicone. Some brands cure without bubbles, so check first.
- Optional: release spray. Some silicones stick to PLA, so spray the printed mold lightly before pouring.
- Safety gear: gloves, glasses, and a clean workspace covered with a trash bag or sheet of plastic.
For cooking
- A heater or stove
- A fridge for cooling
- A pan and a heatproof bowl
- A rubber spatula
- A little water
- A bar of chocolate of your choice
- Optional: a toothpick for touching up the edges
Step 1: Create the 3D Model
These steps use Fusion 360, but you can follow the same idea in any 3d modeling app.
- Make the base sketch for one chocolate piece with 20 mm × 20 mm.

2. Extrude it to 6 mm and give it a 20-degree taper so it already looks like a block of chocolate.

3. Create a new sketch on top and insert your SVG logo, aligning it carefully.

4. Extrude the logo up or down by about 1 mm with a 2-degree taper.

5. Repeat this shape three across and six down.

6. Add another sketch the same size as the whole bar and extrude downward by 6 mm to form the base plate.

7. Draw a rectangle around the bar, leaving about 10 mm of space on each side for the silicone walls

8. Extrude that shape downward by 18 mm so it surrounds the bar and extends 10 mm above it.

9. Apply a shell of about 1 mm to form the cavity.

10. Round all outer edges with a 6 mm fillet to help remove the mold later.

11. Export as STL, and we are ready to slice
Step 2: Print the Mold
Import the STL into the slicer app. Because it’s a simple shape, not many adjustments are needed.
- To get as much detail as possible use the “Extra Fine” preset (0.08 mm).
- For even smoother results, use a smaller nozzle or a resin printer.
- Try different top surface finishes if you like, you can do this by changing the ironing settings of the top layers. I keep the default since it gives the chocolate a subtle printed texture that looks handmade.

Start the print and let it finish.

Step 3: Make the Silicone Mold
Work safely: gloves, glasses, and a protected surface.
- Pour water into the printed mold, then into your mixing cup to measure how much silicone you’ll need. Dry everything afterward.
- Mix the silicone according to the ratios on the bottles.
- Stir gently for the recommended time.
- If you have a vacuum pump place the mixing cup into it and get the bubbles out.
- Pour it slowly into the mold from one corner to reduce bubbles.

6. Let it cure, this can take several hours depending on the brand. Some require oven curing.
7. Once cured, wash the mold with warm water and soap, then dry it.
You now have a reusable silicone mold. Clean it with soap and hot water after each use.

Step 4: Make the Chocolate Bar

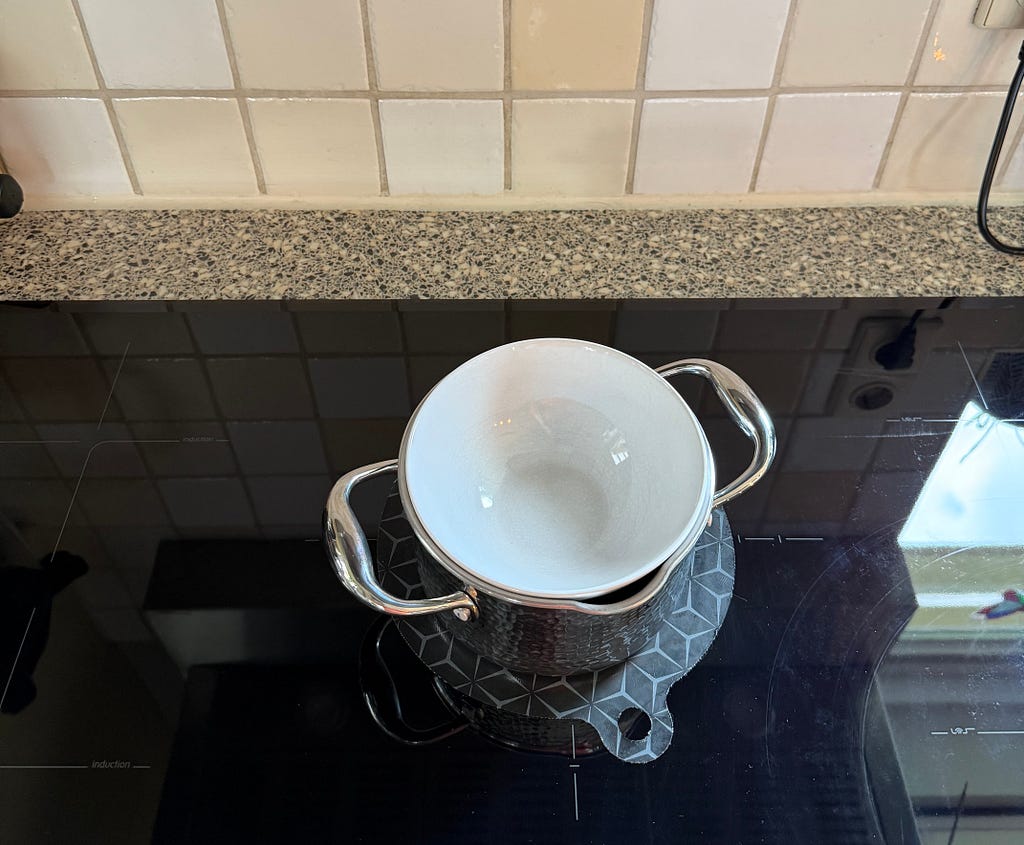
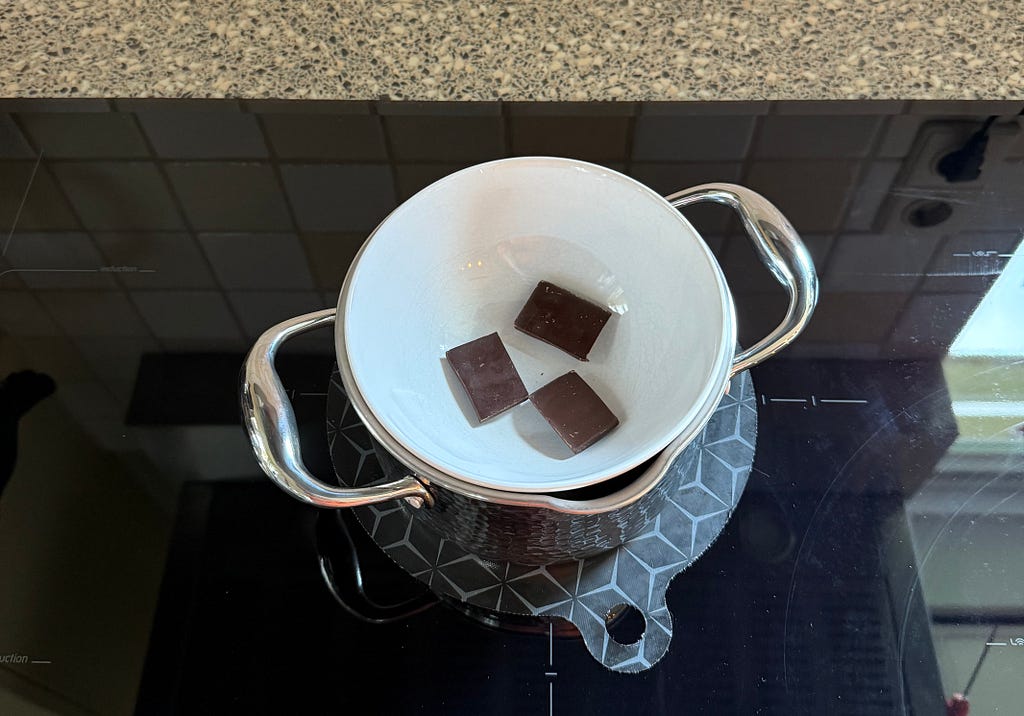
- Heat some water in a pan and place a bowl on top (make sure it doesn’t touch the water).

2. Break the chocolate into small pieces and start melting them slowly in the bowl.

3. Keep stirring as it melts. Add the rest bit by bit.

4. Once melted, pour it slowly into the silicone mold from one side to prevent air pockets.

5. Tap the mold gently to release any bubbles and use a toothpick to reach tight corners and the logo.
6. Move the mold to the fridge. And let it rest for an hour.

7. After about an hour, remove it. If it’s stuck, let it sit for a few minutes — it will loosen as it warms slightly.

Enjoy your custom chocolate bar!